When you encounter the “WordPress down” scenario, it’s crucial to stay calm and approach the problem systematically. This post will delve into the common reasons your WordPress site is displaying errors and provide clear, actionable steps to bring it back online. From plugin conflicts to server issues, we’ll cover the essentials of troubleshooting and solving the WordPress down dilemma, ensuring your site’s downtime is minimal.
Table of Contents
The Dreaded White Screen of Death (WSoD)
Is your WordPress down? This situation most commonly presents as the White Screen of Death. This issue usually stems from PHP or database errors, presenting itself as a completely blank screen. But, there’s no need to panic! Most of the time, the WSOD is caused by one of three familiar problems.
Inside WPAdmin, disable all plugins at once, then reactivate them one by one to find the troublemaker. Locked out? Use FileZilla or another FTP client to rename the wp-content/plugins directory, effectively disabling the plugins. This lets you reactivate them individually for troubleshooting.
Theme Conflicts: A newly activated theme or the creation of a new site within WordPress could trigger the WSOD. To fix this, switch to a default WordPress theme (such as Twenty Twenty-One) via the admin screens or FTP by going to wp-content/themes and renaming the current theme’s folder.
Debugging: If you still haven’t resolved the issue, Leveraging the WP_DEBUG feature and accessing error logs can offer more of a direct route to troubleshooting.
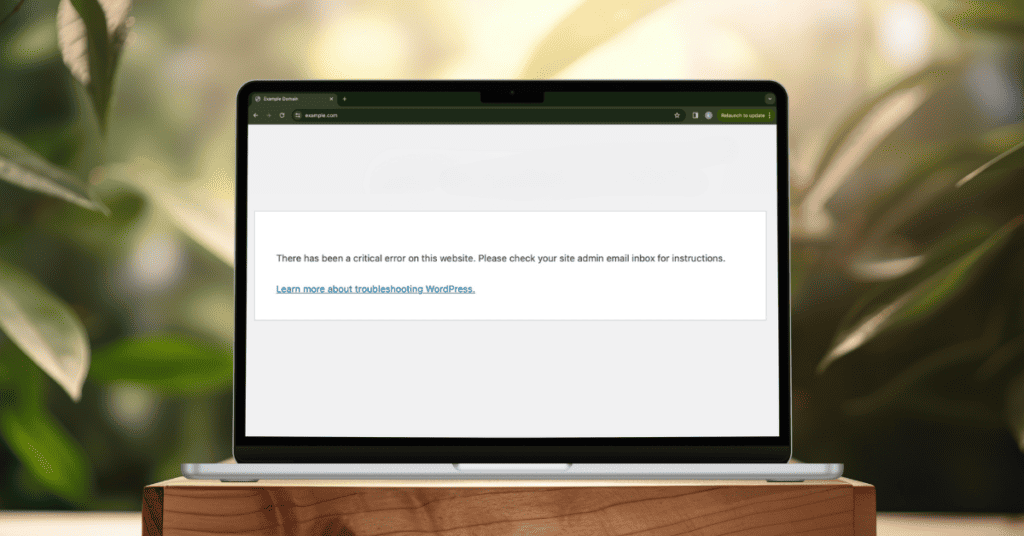
Error Establishing a Database Connection
This error simply means WordPress can’t connect with your database, usually because the database credentials are incorrect. This is most common if you’ve recently migrated your site to a new host. To fix it, access your wp-config.php file to double-check your details like your database name, username and password. You can find these credentials in your hosting provider’s management panel.
- Locate Your wp-config.php File: This crucial WordPress configuration file houses important settings, including your database information.
- Editing the wp-config.php: If you’re new to tinkering with the wp-config.php file, don’t worry. Check out our easy-to-follow guide on how to edit this file within WordPress.
- Find the Database Settings: Once you’re in the wp-config.php file, look for the specific lines that contain your database credentials. These are what you’ll need to verify or update to resolve your connection issue.
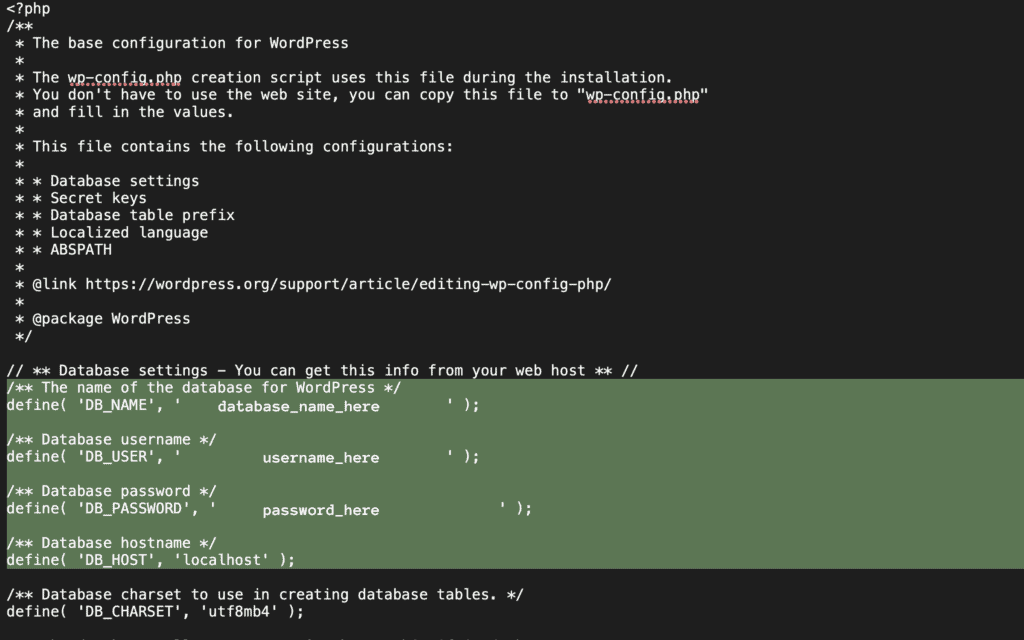
If your credentials check out and you still have the warning, dive into our article that quickly solves the Error Establishing a Database Connection issue in WordPress.
404 Not Found Error
URL Typos: The simplest explanation might just be a typo in the URL. This is a frequent mishap and the most common cause of 404 errors.
DNS Settings Adjustments: Have you recently updated your Domain Name System (DNS) settings? If so, and you’re encountering 404 errors, it’s possible the changes are still propagating. This update process can take up to 48 hours to fully complete.
Site Structure and Add-on Issues: Occasionally, the issue lies deeper within the site’s infrastructure. A missing, broken, or corrupted .htaccess file can interfere with WordPress permalinks, leading to 404 errors. Navigate to Settings > Permalinks in your WordPress dashboard and click Save Changes to flush and regenerate your permalink structure.

Internal Server Error or 500 Error
Facing a 500 Internal Server Error is often tied to either a corrupted .htaccess file or a PHP memory limit that’s too low.
How To Fix a Corrupted .htaccess File
- Use FTP or your hosting file manager to find and rename
.htaccessto.htaccess_oldin your root directory. This move temporarily disables the file. - Test Your Site: If your site loads without error, the issue was likely with
.htaccess. - Generate a New
.htaccess: In WordPress, go to Settings > Permalinks and hit “Save Changes” to create a fresh.htaccessfile.
How To Increase PHP Memory Limit
If the .htaccess isn’t at fault, your site might need more memory.
- Access
wp-config.php: Open this file via FTP or your host’s file manager. - Boost Memory Limit: Before the
/* That's all, stop editing! Happy publishing. */line, add:
define('WP_MEMORY_LIMIT', '256M');
Boosting WordPress’s PHP memory limit could fix your issue. After updating wp-config.php, revisit your site to check if the error’s gone. If you’re still facing the WordPress down issue, your site’s memory might be capped, and you’ll need to talk to your hosting provider about increasing it or upgrading your plan.
Maximum Execution Time Exceeded
When you hit a “Maximum Execution Time Exceeded” error, it means a PHP script on your website ran for longer than allowed. This usually points to a heavy plugin or theme overworking your server’s resources.
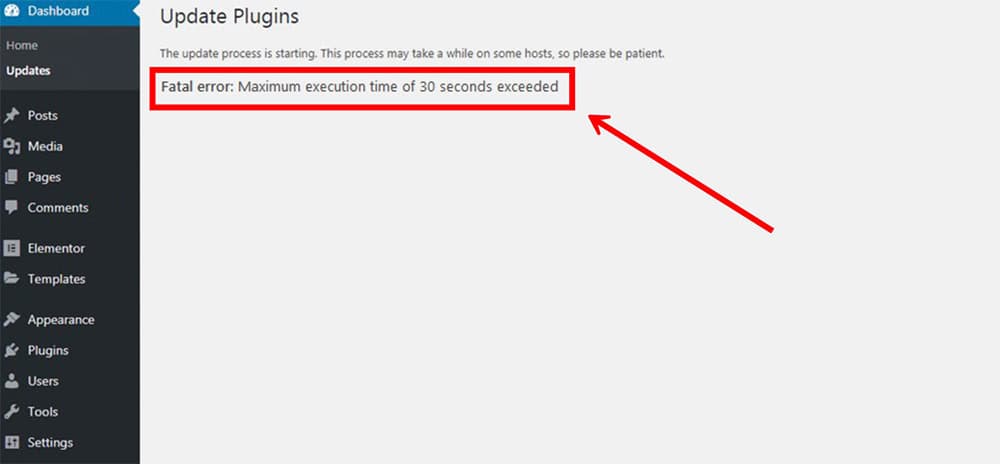
- Temporarily deactivate plugins or themes one at a time to find the culprit. Reactivate each after testing if the error resolves.
- If the specific cause remains elusive, you might need more script execution time. At this point you can edit your .htaccess file.
- You can add the execution time code by scrolling to the bottom of the
.htaccessfile and add the following line of code:
php_value max_execution_time 300
Secure Connection Error
A secure connection error in WordPress can difficult to diagnose. It often occurs when your site can’t establish a secure connection for updates or installations. Here’s some things to look for in order to troubleshoot and solve this issue.
Check Server Date and Time: Incorrect server time can lead to SSL issues. Ensure it’s correct or ask your hosting provider to check.
Manually Update WordPress, Themes, and Plugins: Sometimes, outdated components can cause connection problems. Update them manually via FTP if necessary.
WordPress down still? Verify The PHP cURL Extension. WordPress uses this for HTTPS requests. Ensure it’s enabled and supports SSL. Your hosting provider can help with this.
Inspect Your SSL Certificate: Use online tools to check your SSL certificate for validity or errors. Renew or reconfigure if there are issues.
Force Direct Filesystem Method: Open the wp-config.php file in a text editor. If you’re using an FTP client, you may need to download the file to your computer first. Scroll to the bottom of the file, just before the line that says /* That's all, stop editing! Happy blogging. */. Insert the following line of code:
define('FS_METHOD', 'direct');

Disable Security Plugins Temporarily: Sometimes, security plugins can interfere with connections. Deactivate them briefly to test if the error resolves.
Reach Out to Your Hosting Provider: If the WordPress down problem persists, your hosting provider may need to investigate server-side issues or firewall settings that could be blocking secure connections.
Sidebar Below Content
If your sidebar is appearing below your content instead of alongside it, it’s usually a markup (HTML) or CSS issue. Check your theme’s files for any unclosed or misplaced <div> tags and ensure the CSS is correctly styling the sidebar.
- Check HTML: Look for unclosed or misplaced
<div>tags in your theme’s files. - Review CSS: Ensure your CSS properly positions the sidebar next to the content.

Unable to Upload Images
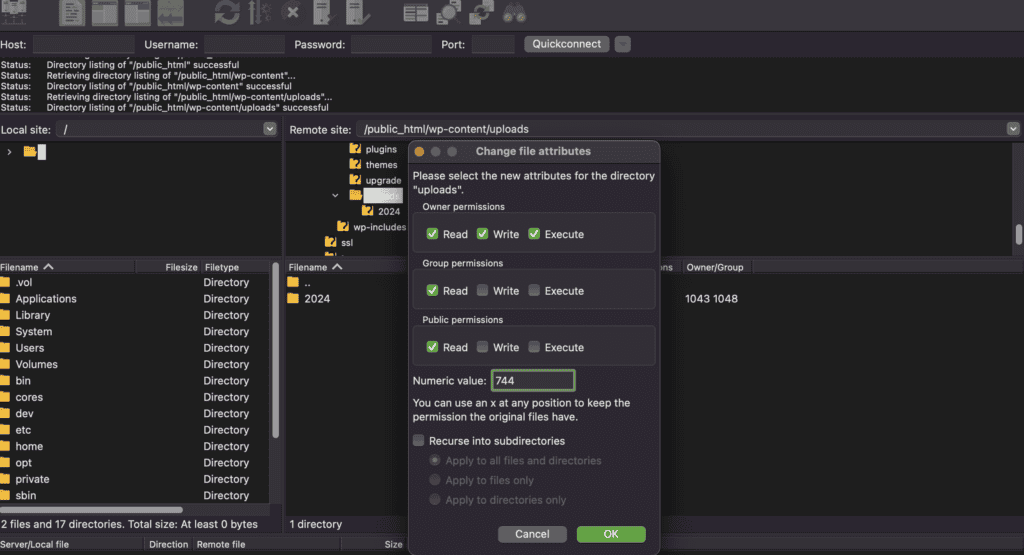
When facing difficulties with uploading images to your WordPress site, the root cause often lies in the file permissions for the wp-content/uploads directory. Incorrect permissions can prevent WordPress from saving files correctly.
- Connect to Your Website via FTP: Use an FTP client to access your site’s files. You’ll need your FTP credentials, which you can obtain from your hosting provider if you don’t have them.
- Navigate to the
wp-content/uploadsDirectory: This folder is where WordPress stores all uploaded media. Its path relative to your site’s root might look something like/public_html/wp-content/uploads. - Adjust Directory Permissions: Right-click on the
uploadsdirectory and select the option to change file permissions. Set the directory permissions to744to allow the web server to read and execute files, but not write. This setting permits WordPress to navigate the folder structure. - Adjust File Permissions: For individual files within the directory, set permissions to
644. This allows files to be read and written by the server but not executed, enhancing security while ensuring functionality. - Test the Changes: After adjusting the permissions, try uploading an image again to see if the issue is resolved.
If the WordPress down problem persists after these adjustments, it may be worth checking other factors such as PHP limits or conflicts with plugins/themes.
WordPress Down? Connection Timed Out Error
A “Connection Timed Out Error” usually means your site lacks the resources to load pages or scripts promptly. To fix this:
- Optimize for Speed: Use caching, compress images, and streamline CSS/JS files.
- Deactivate Heavy Plugins: Identify and disable plugins that slow down your site.
- Upgrade Hosting: Consider moving to a higher-tier hosting plan for more resources.
Admin Dashboard Lockout
Being locked out of your WordPress admin area is often due to password issues, but it can also occur after a hack or if a plugin or theme locks you out. Resetting your password via email is the first step. If that fails, using phpMyAdmin to reset your password directly in the database is another option.
WordPress Stuck in Maintenance Mode
Is your WordPress down? It could mean your site is stuck in maintenance mode after an update. It’s typically because the .maintenance file hasn’t been automatically deleted.
- Use an FTP client to log into your site’s server.
- Look for the
.maintenancefile in the root directory where your WordPress files are located (the same location as yourwp-config.phpfile). - Once you locate the
.maintenancefile, delete it. This action signals WordPress to exit maintenance mode.
Mixed Content Error
These steps help secure your site with HTTPS, eliminating mixed content errors that could be another cause of a WordPress down scenario.
- Identify HTTP Resources: Use tools like Why No Padlock? to find elements loading over HTTP.
- Update to HTTPS: Change all HTTP links in your content, themes, and plugins to HTTPS. This includes images, scripts, etc.
- Use Plugins: Plugins like Really Simple SSL can automatically correct mixed content issues by forcing HTTPS loads.
- Test Your Site: After changes, ensure no mixed content warnings appear using SSL check tools.

Failed Auto-Update
When a WordPress auto-update fails, often due to server hiccups or file permission issues, but don’t fret! You can manually download the latest version of WordPress yourself!
- Visit WordPress and download the latest version.
- Unzip the downloaded file on your computer.
- Use an FTP client like FileZilla to connect to your site’s server.
- Navigate to your WordPress directory. Upload the new WordPress files, overwriting the existing ones. Exclude the
wp-contentfolder to avoid overwriting your themes, plugins, and uploads. - Visit your WordPress admin area to complete any database updates if prompted.
RSS Feed Errors
RSS Feed Errors are often caused by improper formatting. More specifically, an incorrect whitespace before the XML declaration. This can cause your feeds to be displayed incorrectly.
- Open your theme’s
functions.phpfile. Check to make sure there’s no space or lines before the initial<?phptag. - Similar to the theme’s file, examine the PHP files of your plugins for a whitespace before the
<?phptag. - If you find any space or line breaks before the
<?phptag, remove them. This adjustment should be made carefully to avoid breaking the code.

Too Many Redirects Error
The Too Many Redirects error in WordPress typically stems from misconfigured redirection rules, often found within your .htaccess file, SSL settings, or directly within WordPress settings. This error can cause your website to loop endlessly, preventing access. Below are three approaches to solving this problem.
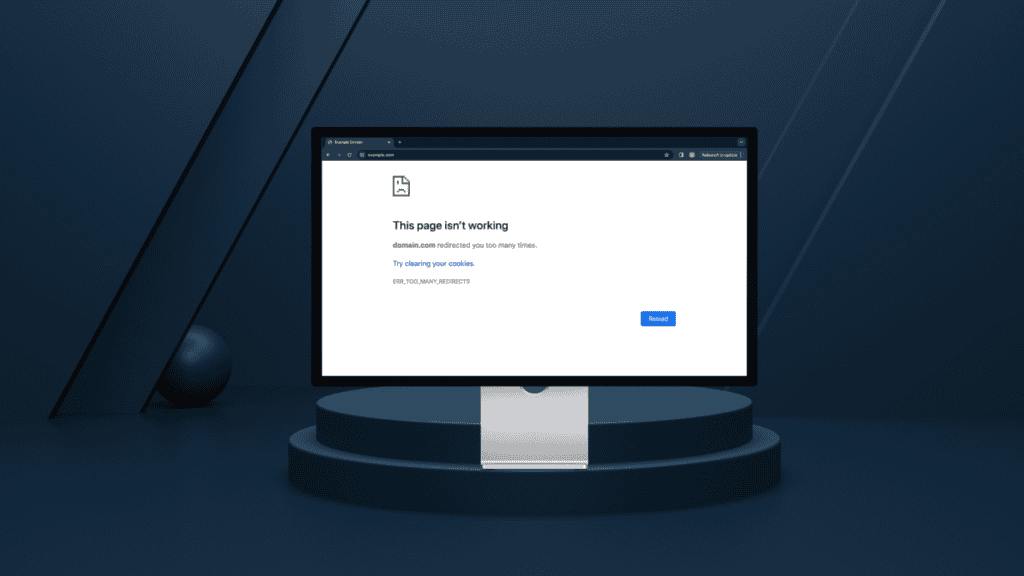
- First, navigate to your WordPress settings. Confirm that the Site URL and WordPress URL settings are identical. Discrepancies here are a common culprit.
- Access your site’s .htaccess file via FTP or file manager in your hosting control panel. Look for any redirection rules that might be causing the loop. If you’re unsure, reset your .htaccess to the default WordPress rules.
- Ensure that your SSL settings are correctly configured, especially if you’ve recently moved to HTTPS. Mismatches between HTTPS settings in WordPress and your hosting might trigger redirects.
The Site Ahead Contains Harmful Programs
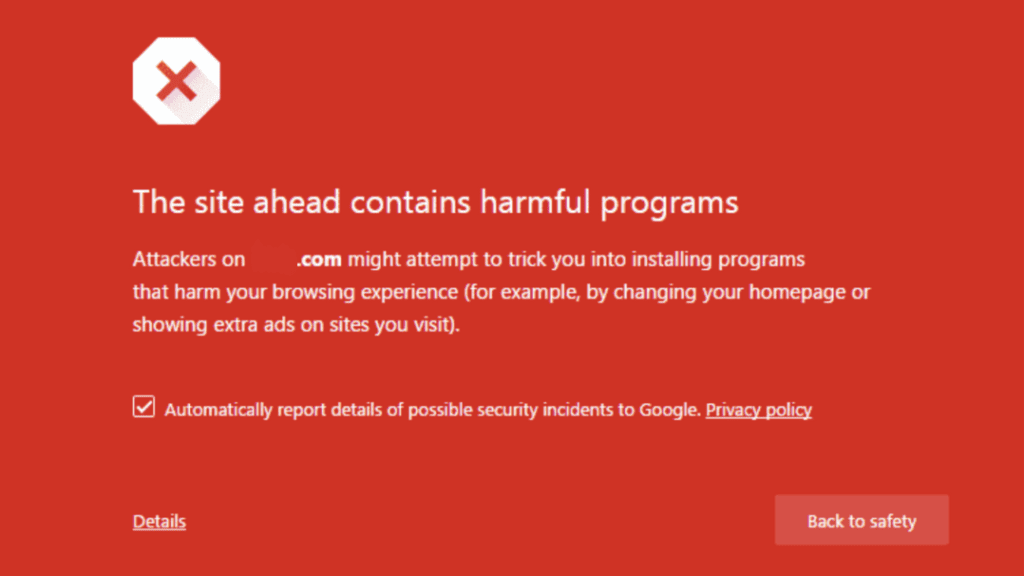
The warning “The Site Ahead Contains Harmful Programs” typically appears in browsers when Google detects malware or phishing attempts on your website. It’s crucial for your site’s security and user trust to address this immediately.
- Scan for Malware: Use security plugins (like Sucuri or Wordfence) to find and remove any malware.
- Check Blacklist Status: Verify if your site is blacklisted using Google’s Safe Browsing tool.
- Update Everything: Make sure WordPress, themes, and plugins are all up to date.
- Review Ads: Ensure all ads on your site come from reputable sources.
- Request Google Review: After cleaning your site, use Google Search Console to request a review to lift the warning.
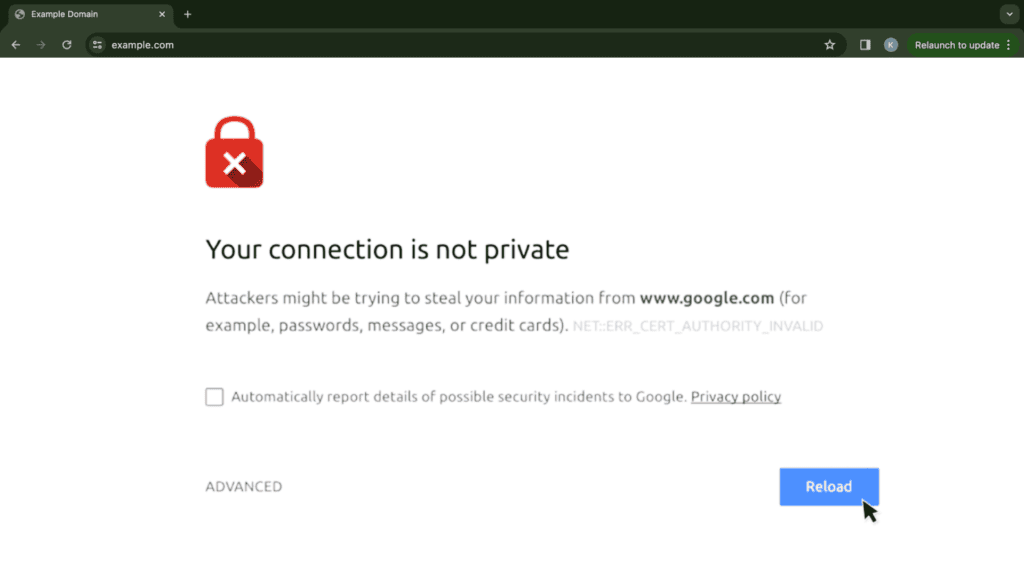
Your Connection Is Not Private
This SSL certificate error can be fixed by ensuring your certificate is valid, properly installed, and hasn’t expired. Check your certificate status and consider using a plugin or your hosting provider’s tool to force HTTPS site-wide.
- Ensure your SSL certificate is valid and hasn’t expired. Use tools or your web browser to inspect the certificate status.
- Make sure the certificate is correctly installed on your server. Misconfigurations can lead to this error.
- Use a plugin (for WordPress sites) or access your hosting provider’s settings to force HTTPS across your entire site, ensuring secure connections.
WordPress Memory Exhausted Error
To fix the WordPress Memory Exhausted Error, which typically occurs when your site exceeds the allocated memory limit due to resource-heavy plugins or themes, you can increase the PHP memory limit.
To Edit wp-config.php:
- Access Your Site’s
wp-config.phpfile located in your WordPress site’s root directory. - Place the following line of code just before the comment that says “That’s all, stop editing! Happy publishing.” This code increases the memory allocated to WordPress to 256MB.
define('WP_MEMORY_LIMIT', '256M');
To Edit .htaccess:
- Access Your Site’s
.htaccessfile located in your site’s root directory. If you can’t find it, make sure your FTP client is configured to show hidden files. - Insert the following line of code at the end of the
.htaccessfile:
php_value memory_limit 256MForbidden Error 403
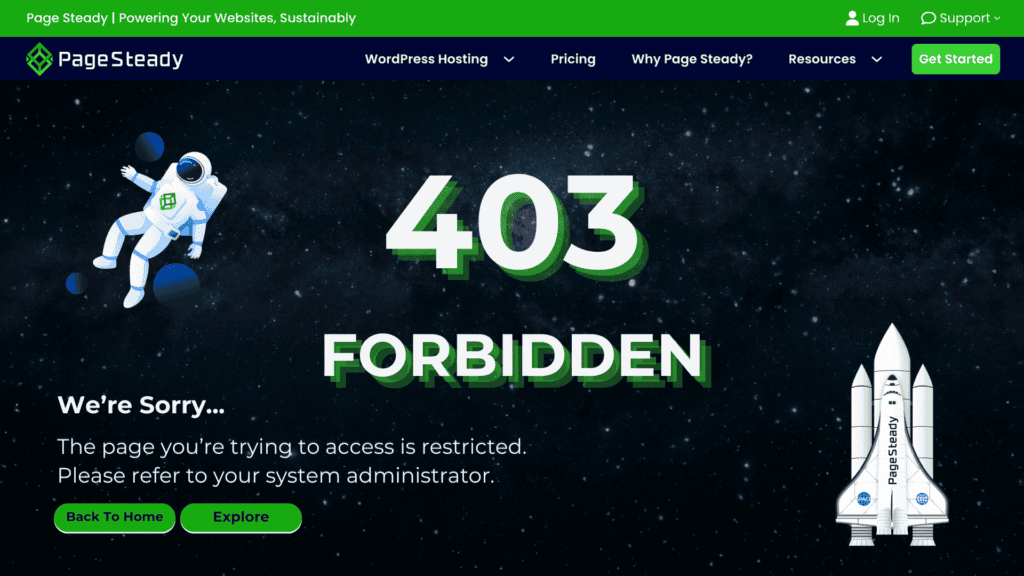
1. Check .htaccess for Incorrect Rules:
- Locate and Open
.htaccessFile: This is in your site’s root directory. - Review Rules: Look for any unusual or incorrect rules that might be restricting access.
- Reset
.htaccess: If unsure, temporarily rename.htaccessand see if the issue resolves. If it does, reset to the default WordPress.htaccessrules.
2. Correct File Permissions:
- Set File Permissions: Files should have a permission setting of 644, allowing the owner to read and write, while others can only read.
- Set Directory Permissions: Directories should be set to 755, permitting the owner to read, write, and execute, while others can only read and execute.
- Use FTP or File Manager: Adjust these permissions using an FTP client or through your hosting provider’s file manager.
Too Many Login Attempts
If you’re locked out of WordPress due to too many login attempts, there’s two things you can do about it.
- Wait It Out: Lockouts usually expire after a while, allowing access again.
- Use a Plugin: Install a security plugin like Limit Login Attempts Reloaded to manage and clear lockouts directly from its settings.
Email Sending Error
When WordPress struggles to send emails, often due to the server’s mail function being disabled or plugin conflicts, an SMTP plugin offers a reliable solution.

- Install a reputable SMTP plugin like WP Mail SMTP or Easy WP SMTP. These plugins allow you to configure WordPress to send emails using an SMTP server, bypassing the server’s PHP mail function.
- After installation, set up the plugin with your email provider’s SMTP details. This includes the SMTP host, port, encryption method, and your email login credentials.
- Most SMTP plugins feature a test email option. Use this to verify that WordPress can successfully send emails through the SMTP server.
Upload: Failed to Write File to Disk
Another cause for the WordPress down situation occur’s when your website’s upload directory isn’t writable due to incorrect permissions, or your disk space is full. Checking your directory permissions and ensuring you have enough disk space are the first steps to resolving this issue.
- Ensure the directory permissions for your website’s upload directory (typically
wp-content/uploads) are correctly set. Permissions should allow files to be written to the disk, usually with a setting of 755 for directories. - Log into your hosting account and verify that there’s enough available disk space. A full disk can prevent new files from being uploaded.
This Account Has Been Suspended
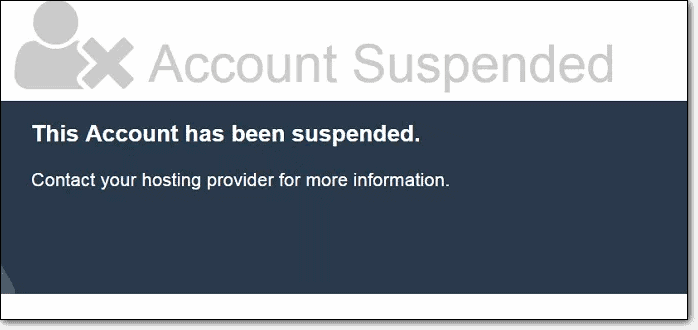
If you see this message, it means your hosting provider has suspended your account, typically due to a violation of their terms of service or non-payment. Contacting your hosting provider is the only way to solve this WordPress down scenario.
Cannot Modify Header Information – Headers Already Sent
The “Cannot Modify Header Information – Headers Already Sent” warning in PHP is usually a result of premature output, often due to whitespace or new lines before the opening <?php tag or after the closing ?> tag in your WordPress files.

The error message typically includes the specific file and line number where the output started. Take note of these details.
- Open the implicated file in a text editor.
- Carefully check for and remove any whitespace or new lines before the opening
<?phptag or after the closing?>tag. In many cases, it’s recommended to omit the closing?>tag in PHP files to avoid this issue. - After making the changes, save the file and upload it back to your server if you edited it locally.
XML-RPC.php Attack
To protect your WordPress site against brute force attacks targeting the XML-RPC system, consider disabling XML-RPC if it’s not required for remote operations.

Using a Plugin
- Install a security plugin that offers the option to disable XML-RPC, such as Disable XML-RPC or use a comprehensive security plugin like Wordfence Security which can also block XML-RPC attacks.
Through .htaccess File:
- If you prefer not to use a plugin, you can disable XML-RPC directly via your site’s
.htaccessfile. Add the following lines to your.htaccessfile:
# Block XML-RPC requests
<Files xmlrpc.php>
order deny,allow
deny from all
</Files>
This code effectively blocks all access to the xmlrpc.php file, preventing potential attackers from exploiting it.
Conclusion
Learning how to troubleshoot a WordPress down situation is crucial for maintaining a healthy website. This guide has equipped you with strategies to tackle many of them, from server-side mishaps to WordPress-specific quirks. While each problem might seem scary at first, the solutions we’ve outlined are straightforward and effective. Regular updates, vigilant security practices, and an understanding of WordPress mechanics are your best defenses against these errors.

